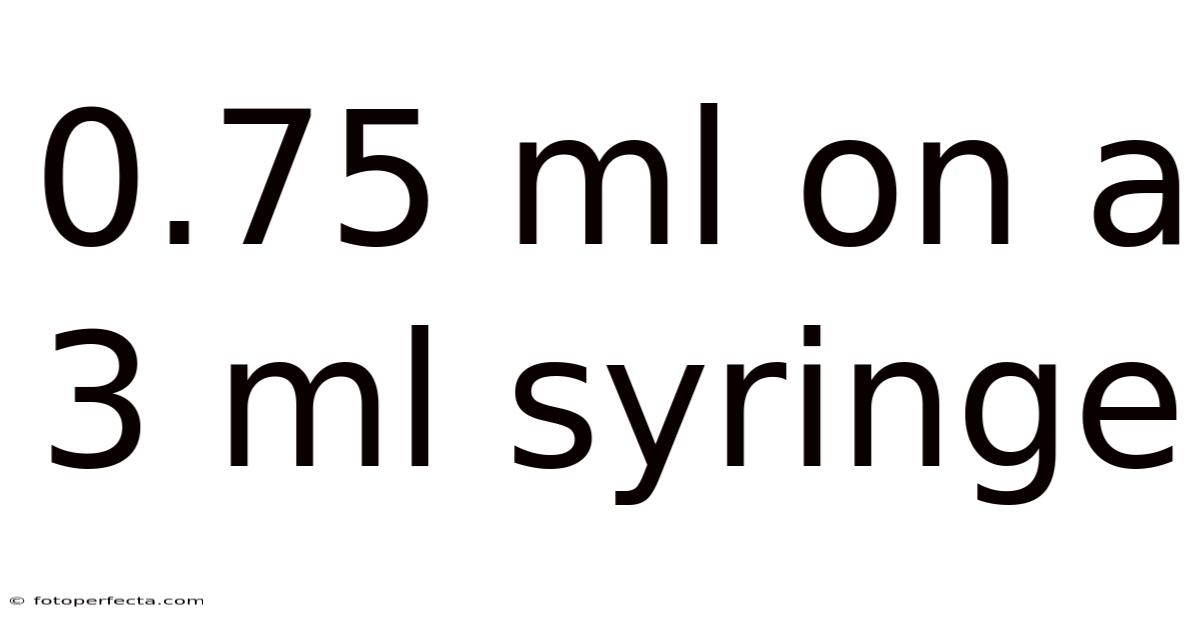
Measuring 0.Still, 75 ml on a 3 ml syringe is a fundamental skill that ensures accuracy in medical dosing, laboratory experiments, and precise DIY applications. Even so, understanding how to read syringe markings correctly can prevent underdosing or overdosing, which is especially critical when handling medications, supplements, or chemical solutions. This guide breaks down the exact steps, explains the science behind syringe calibration, and provides practical tips to help you achieve reliable, repeatable measurements every time No workaround needed..
Introduction
A standard 3 ml syringe is engineered to deliver precise liquid volumes, making it a versatile tool across healthcare, veterinary, and scientific fields. The barrel features graduated markings that correspond to specific milliliter increments, allowing users to measure small quantities with confidence. When working with 0.75 ml on a 3 ml syringe, you are dealing with a measurement that requires careful attention to detail, as it falls between standard whole-number or half-milliliter marks. Proper technique not only guarantees the correct dosage but also minimizes waste and reduces the risk of contamination. Whether you are a patient managing at-home treatments, a student conducting chemistry experiments, or a hobbyist formulating custom solutions, mastering this measurement builds a foundation for safe and effective liquid handling. The key lies in understanding how the syringe is designed, where to align your eyes, and how to manipulate the plunger with controlled precision.
Steps
Accurately drawing 0.75 ml on a 3 ml syringe requires a systematic approach. Rushing through the process often leads to parallax errors, air entrapment, or inaccurate dosing.
- Prepare your workspace and materials: Choose a clean, flat surface with adequate lighting. Wash your hands thoroughly and gather the syringe, the liquid source, and a clean cloth or paper towel. If using a sterile solution, maintain an aseptic environment by avoiding contact with the needle tip or syringe opening.
- Inspect the syringe before use: Verify that the barrel is free from cracks, the markings are legible, and the plunger moves smoothly. Check the expiration date if the syringe is pre-packaged for medical use.
- Draw slightly more than the target volume: Insert the needle or tip into the liquid and pull the plunger back past the 0.75 ml mark, ideally stopping around 0.8 ml or 0.85 ml. Overdrawing gives you a buffer to adjust downward without running short.
- Eliminate trapped air: Hold the syringe vertically with the tip pointing upward. Gently flick or tap the barrel to coax air bubbles toward the opening. Slowly depress the plunger until all visible air is expelled and a tiny droplet appears at the tip.
- Align to the exact measurement: Carefully push the plunger downward in small increments. Stop when the front edge of the rubber plunger seal aligns perfectly with the 0.75 ml line. If your syringe lacks a labeled 0.75 ml mark, position it precisely halfway between the 0.7 ml and 0.8 ml graduations.
- Verify at eye level: Hold the syringe horizontally or at a slight angle directly in front of your eyes. Avoid looking from above or below, as this creates optical distortion. Confirm the alignment before administering or transferring the liquid.
Scientific Explanation
The precision of a 3 ml syringe is grounded in fluid mechanics, geometric calibration, and strict manufacturing tolerances. So syringe barrels are cylindrical, meaning their internal volume follows the formula V = πr²h, where r represents the internal radius and h is the linear distance the plunger travels. Because the radius remains constant along the barrel, volume increases linearly with plunger displacement. This predictable relationship allows manufacturers to etch accurate milliliter markings at mathematically calculated intervals Most people skip this — try not to..
The official docs gloss over this. That's a mistake.
Regulatory bodies such as the International Organization for Standardization enforce guidelines like ISO 7886, which dictate maximum allowable volume errors for sterile hypodermic syringes. Because of that, 75 ml measurement should fall between 0. 735 ml and 0.On top of that, the black rubber component at the end of the plunger, known as the plunger seal, is specifically designed to create a frictionless yet airtight barrier. For a 3 ml syringe, the tolerance is typically within ±2% to ±3%, meaning a 0.765 ml under ideal conditions. Its front edge serves as the universal reference point because it directly contacts the liquid column Simple, but easy to overlook..
Liquid behavior also influences measurement accuracy. That said, water-based solutions form a concave meniscus due to adhesive forces between the liquid and the glass or plastic barrel. When reading the volume, the bottom of this curve should align with the target marking. Viscous liquids, such as oils or glycerin, exhibit higher surface tension and may cling to the barrel walls, requiring a brief settling period before final verification. Temperature fluctuations can also cause minor expansion or contraction of the liquid, though these effects are negligible at room temperature for most practical applications Not complicated — just consistent. Simple as that..
FAQ
Q: What should I do if my 3 ml syringe only has 0.2 ml increments? A: Many standard syringes mark every 0.2 ml (0.2, 0.4, 0.6, 0.8, etc.). To measure 0.75 ml, locate the 0.6 ml and 0.8 ml lines, then position the front edge of the plunger seal exactly three-quarters of the way toward the 0.8 ml mark. Using a magnifying lens or smartphone camera zoom can improve accuracy.
Q: Can I use a 3 ml syringe for measurements smaller than 0.5 ml? A: While technically possible, accuracy diminishes significantly below 0.5 ml due to wider spacing between markings relative to the total volume. For doses under 0.5 ml, a 1 ml insulin syringe with 0.01 ml or 0.02 ml increments is strongly recommended for clinical precision It's one of those things that adds up..
Q: Does the type of liquid change how I read 0.75 ml? A: Yes. Thin liquids like saline or water settle quickly and display a clear meniscus. Thicker substances like cough syrup or essential oils may require slower plunger adjustment and a 10–15 second pause to allow the liquid to stabilize against the barrel walls before finalizing the measurement Not complicated — just consistent..
Q: Is it safe to reuse a 3 ml syringe for multiple doses? A: Reuse depends entirely on the application. For medical, injectable, or sterile purposes, syringes are strictly single-use to prevent infection and cross-contamination. For non-sterile tasks like crafting or gardening, thorough rinsing with distilled water and complete air-drying may be acceptable, but always prioritize manufacturer guidelines and local safety regulations.
Conclusion
Mastering how to measure 0.75 ml on a 3 ml syringe transforms a simple plastic tool into an instrument of precision and reliability. By understanding the geometry behind the markings, respecting the plunger seal as your reference point, and practicing controlled, deliberate movements, you eliminate guesswork and protect the integrity of your work. Consider this: take the time to align your eyes correctly, remove air methodically, and trust the calibrated design of the syringe. Day to day, whether you are safeguarding a patient’s health, ensuring experimental consistency, or perfecting a delicate recipe, accuracy begins with proper technique and ends with careful verification. With consistent practice, measuring exact volumes will become an intuitive skill, giving you confidence and control in every application.
Calibration Verification and Quality Checks
Even with precise technique, syringe accuracy can drift over time due to material fatigue, chemical exposure, or minor manufacturing tolerances. Periodically verify your syringe’s calibration by drawing distilled water at room temperature and weighing it on a precision analytical scale. Since 1 ml of water equals approximately 1.000 g at 20°C, a 0.75 ml draw should register as 0.750 g ± 0.015 g. Consistent deviations outside this range indicate barrel wear, seal degradation, or plunger inconsistency, necessitating immediate replacement rather than manual compensation. Additionally, inspect the interior for cloudiness, micro-scratches, or residue buildup, as surface imperfections can alter internal volume and disrupt fluid flow during measurement.
Storage, Handling, and Disposal
Long-term reliability depends heavily on how syringes are maintained between uses. Store them horizontally or with the plunger slightly withdrawn in a clean, temperature-stable environment away from direct UV exposure and volatile solvents. This prevents the rubber seal from bonding to the polypropylene barrel, which can cause sticking, sudden plunger jumps, or inaccurate volume retention. Never autoclave or expose standard syringes to high heat unless explicitly rated for sterilization, as thermal expansion permanently alters calibration marks. When disposal is required, segregate used syringes according to local biomedical or hazardous waste regulations. Forcing components apart or attempting to clean internal channels with abrasive tools will compromise structural integrity and void safety certifications.
Conclusion
Precision liquid measurement is a discipline that bridges technical knowledge, consistent practice, and equipment stewardship. By mastering the nuances of syringe geometry, adapting to fluid behavior, and implementing routine verification protocols, you eliminate variability and establish a reliable standard for every task. The margin between an acceptable measurement and a critical error is often fractions of a milliliter, making disciplined technique and proactive maintenance non-negotiable. Commit to standardized procedures, validate your tools before critical use, and never compromise on safety or accuracy for the sake of speed. When these principles become second nature, achieving exact 0.75 ml volumes transitions from a manual challenge to a repeatable, confident process, ensuring optimal results across clinical, laboratory, and specialized applications And that's really what it comes down to. Less friction, more output..